Data Collection Overview
- Former user (Deleted)
- Florian Wilhelm (Unlicensed)
- Former user (Deleted)
- Former user (Deleted)
This section covers all information about the Data Collection overview page.
| Contents on This Page |
|---|
Description
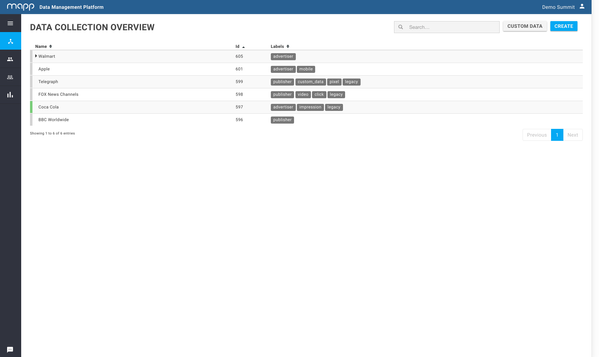
The Data Collection Overview shows all information regarding your Pixels. Down below we described the use of all elements available in the User Interface.
Features
This describes the different features on the Data Collection Overview page.
Indicator
The colored indicators at the left of each row indicate whether the pixel fired in the last 24 hours or not. Hover over the indicator for more information.
Pixel Name
You are able to give each Pixel a name in order to distinguish them. You can change the name of the pixel by clicking on the pencil icon right next to the existing name.
Pixel ID
Each Pixel has been given an Mapp Pixel ID which is displayed on the right side of the Pixel name.
Labels
You can add different labels to your pixels. To add one, click the pencil icon when you hover over the label. When you are done, make sure to click the check icon.
Actions
When hovering over a particular pixel you will be offered a several of actions. Down below we described the purpose of the different actions.
| Name | Purpose |
|---|---|
| Configure | This redirects you to the On-Site Configuration page |
| Export | This redirects you to the Export page within "Data Collection". |
| Copy | This allows you to copy a particular pixel. |
| Insights | This redirects you to the Data Collection Insights page. |
| Delete | This will remove this pixel from the interface. Please note that the actual script won't be removed from the website. |
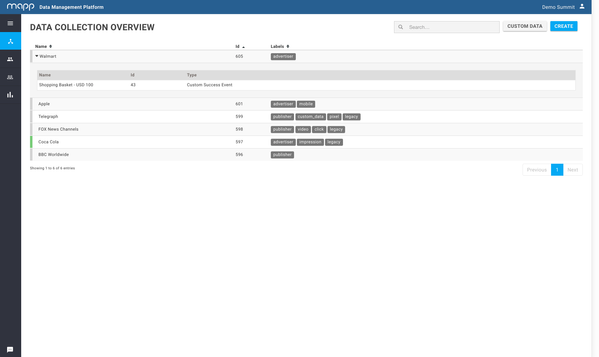
Custom (Success) Events
You will see information about Custom Events and/or Custom Success Events when expanding on a pixel which has them configured.
- The name of the custom event or custom success event.
- The id of the custom event or custom success event.
- The type; either a custom event or a custom success event.
- You are able to edit, copy or delete the custom event or custom success event.
Custom Data
Within the Data Collection overview page you are able to enter our Custom Data feature. You can access this feature by clicking the Custom Data button on the upper right side of your screen.