This section covers all information about creating pixels within our Data Collection feature.
...
The Data Collection Overview shows all information regarding your Pixels. In addition to this page can also redirect you to our Custom Data and Data Collection Insights features.
Guideline
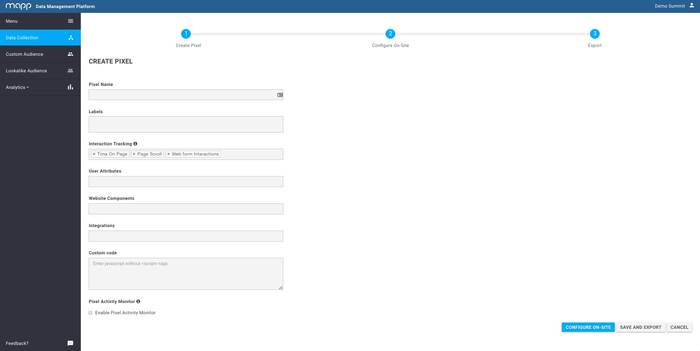
Create Pixel
- Click 'Create' on the overview page.
- Provide a descriptive name for your Pixel.
- Add one or multiple labels. The system will show suggestion of existing labels when typing. Click on the suggestion to add the label. It's also possible to create new labels by typing them in the box.
- Set your On-Site Pixel modules. Please refer to Modules for more information about this feature.
- Click 'Configure' to proceed to the next step or click om 'Go To Export' to export the code without configuring.
| Info |
|---|
Please not the exporting the code without configuring does not have implications on the performance of the pixel. The pixel will collect data. |
...
On-Site Pixel ModulesFeatures
Please refer to the Modules entry for more information about the On-Site Pixel modules that can be enabled per pixel.
...
- Reach out to your DMP Account Manager to activate this module..
- Go to Data Collection and create a new Pixel or choose an existing one.
- Tick the box to enable the Pixel Activity Monitor for this Pixel and click on Save and Export.
- Browse to the corresponding website and add http://www.sitedomain.com?flx1debug=1 to the URL.
...
| Info | ||
|---|---|---|
| ||
Note that the tool can also be used for demo purposes. An extension like Greasemonkey (Firefox) can be used to automatically run the Pixel script on a given website. |
...