How to Enable Firebase Cloud Messaging in your Android app
| Note | ||
|---|---|---|
| ||
As of April 10, 2019, Google has deprecated support for GCM. Please ensure you have the correct Android FCM SDK file for FCM compatibility. The Android GCM SDK will NOT work with FCM tokens. Download the latest SDK files here: https://developers.mapp.com/#mobile-sdk |
This procedure is broken down into two parts:
- Enable Firebase for your app and generate the necessary IDs (API key and Sender ID).
- Enter the proper IDs (API key,google-services.json and Sender ID) in the Firebase Play Developer Console to link them to your app.
How to Enable Firebase Cloud Messaging (FCM) in the Firebase Developers Console
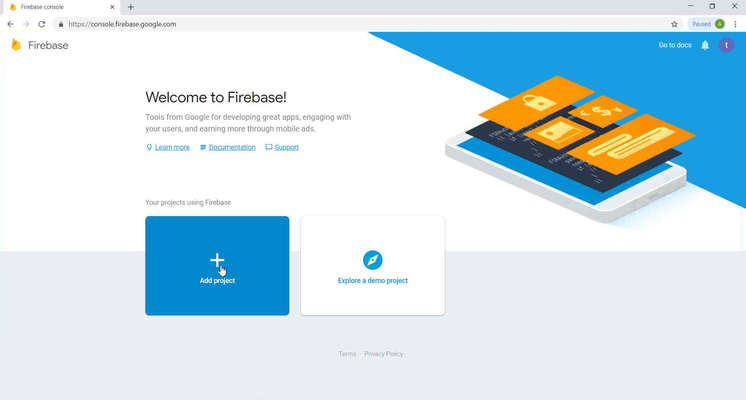
1. Login to the Firebase Developers Console at <https://console.firebase.google.com>.
2. Click "Add Project."
3. Enter your Project name and select your region.
The "Project name" can be anything you want to name it, we recommend naming it something similar to your app's name to make it easily identifiable for later if necessary.

4. After the project is created, click the settings "gear" icon in the upper left and select "Project settings".

5. Click on the "Cloud Messaging" tab.
On this page, you will find your "Server key" (API key) and "Sender ID".

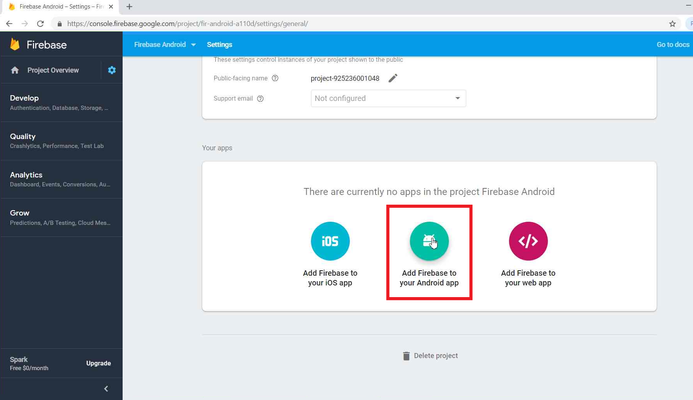
6. Add Firebase to your Android app.
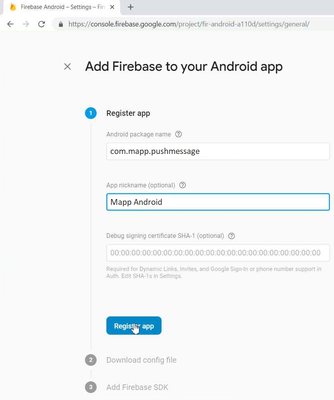
7. Configure the Firebase Android app.
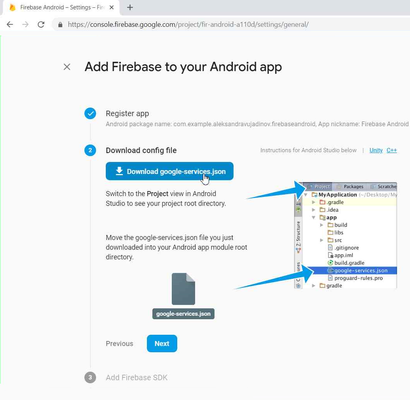
8. Configure the Firebase Android app.
Download google-service.json and move into your Android app module root directory.
Congratulations! You have now successfully enabled Firebase Cloud Messaging (FCM) and linked it to your Android app.
Now, continue to Step B: Enable Android Channel in Mapp Cloud