This entry provides detailed information on how to trigger external pixels.
| Contents of the Table | |
|---|---|
|
Use Cases
When creating a segment or conversion it is also possible to trigger external pixels as an optional configuration setting. All type of pixels (e.g. image url, script, etc.) are supported and can be piggybacked onto the corresponding Custom (Success) Event. The term piggybacking usually refers to the situation where the firing of pixel A causes the firing of pixel B. This second firing can either be via a redirect or a server-side firing.
...
Go to Data Collection and create a new pixel or configure an existing pixel.
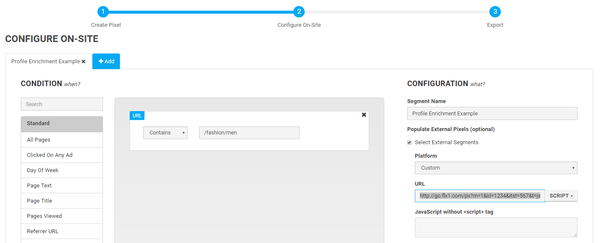
Go to Configure On-Site page.
Add a Custom Event or Custom Success Event label.
Add the appropriate conditions for this Custom Event or Custom Success Event pixel to fire.
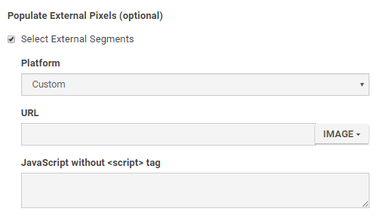
Tick the Select External Pixels box under the Trigger External Pixels (optional) item.
- Select Custom from the Platform dropdown.
- Include the 3rd party pixel URL or JavaScript code into the appropriate box.
Handout
| View file | ||||
|---|---|---|---|---|
|
DCM Floodlight Tag
This provides an example on how to piggyback a Doubleclick Floodlight Tag in order to track conversions in Google platforms (e.g. Doubleclick Campaign Manager). Note that this code must be considered as a template and can differ per implementation.
...
- The "m" parameter reflects the static customer_id relevant to your DMP account.
- The "id" parameter reflects the relevant pixel_id.
- The "itst" parameter reflects the relevant segment or conversion id.
- The "data" parameter should contain the custom attribute in URL encoded JSON format.
| Info | ||
|---|---|---|
| ||
This template can also be used to piggyback a DMP segment or conversion pixel onto a 3rd party pixel. The "data" parameter is optional in that case. |
...